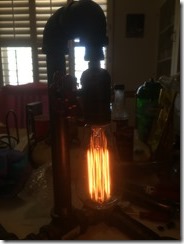
I needed a light for my desk and my wife found a neat looking “Edison” lamp on line. Unfortunately, it was surprisingly expensive. I also wanted something that was dimmable which didn’t seem a common feature for these Edison lamps.
Parts
- 1/8” lamp nipple.
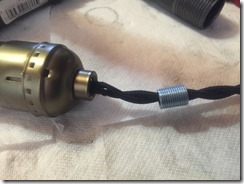
- A socket. There are lots of choices here. You can get one already wired to some great vintage cloth cables with a dimmer switch in addition to the key on the lamp assembly. Here’s what I used: Vintage Edison Textile Cord and Socket.
- An interesting bulb. They do have some great looking LED bulbs now so, if heat is an issue, consider one of these; however, even the dimmable LED bulbs often don’t look as good as an actual incandescent. Check out this one: Retro Edison Light Bulb.
- Some pipe. This is can be a variety of sizes but I’d recommend 3/4” or 1/2” to be large enough to pass wire through. You can use just about any combination of elbows, tees, caps, and nipples but consider having at least 1 long enough to make your lamp adequate height to keep your bulb off of the table.
- At least one pipe fitting that reduces down to 1/8” to fit the lamp nipple.
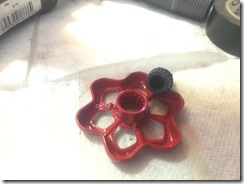
- A spigot handle. You may want to get a new one and swap it with a nice weather beaten one from outside your house.
Steps
Assembly really varies with your choice of fittings but there are a couple key things to consider:
- You want a shape that won’t be susceptible to tipping considering you’ll have a glass bulb to support.
- You’ll need to detach the wire from either the plug end or the socket end in order to thread it through the lamp nipple and the pipes. Some sockets can be disassembled but others are not designed for that and may require cutting and splicing the wires.
- If you have to splice the wires, be sure to note the polarity with a marker if it’s not indicated by insulation color.
Continue to pass the wire through your pipe assembly being careful to reduce the twisting tension as you go. Work the wire through your fittings tightening along the way until you get to where you want the wire to exit the system.
If you want to use a spigot handle for the switch, you’ll probably find they fit pretty well onto the “key”. You can use glue or a self threading screw to lock the spigot down. I’ve never been much of a fan of glue.


